Add an API to Delete a Note
Finally, we are going to create an API that allows a user to delete a given note.
Add the Function
 Create a new file in
 packages/functions/src/delete.js and paste the following.
import { Table } from "sst/node/table";
import handler from "@notes/core/handler";
import dynamoDb from "@notes/core/dynamodb";

export const main = handler(async (event) => {
  const params = {
    TableName: Table.Notes.tableName,
    // 'Key' defines the partition key and sort key of the item to be removed
    Key: {
      userId: "123", // The id of the author
      noteId: event.pathParameters.id, // The id of the note from the path
    },
  };

  await dynamoDb.delete(params);

  return { status: true };
});
This makes a DynamoDB delete call with the userId & noteId key to delete the note. We are still hard coding the userId for now.
Add the Route
Let’s add a new route for the delete note API.
 Add the following below the
 PUT /notes{id} route in stacks/ApiStack.js.
"DELETE /notes/{id}": "packages/functions/src/delete.main",
Deploy Our Changes
If you switch over to your terminal, you’ll notice that your changes are being deployed.
Note that, you’ll need to have sst dev running for this to happen. If you had previously stopped it, then running npx sst dev will deploy your changes again.
You should see that the API stack is being updated.
✓  Deployed:
   StorageStack
   ApiStack
   ApiEndpoint: https://5bv7x0iuga.execute-api.us-east-1.amazonaws.com
Test the API
Let’s test the delete note API.
In a previous chapter we tested our create note API. It should’ve returned the new note’s id as the noteId.
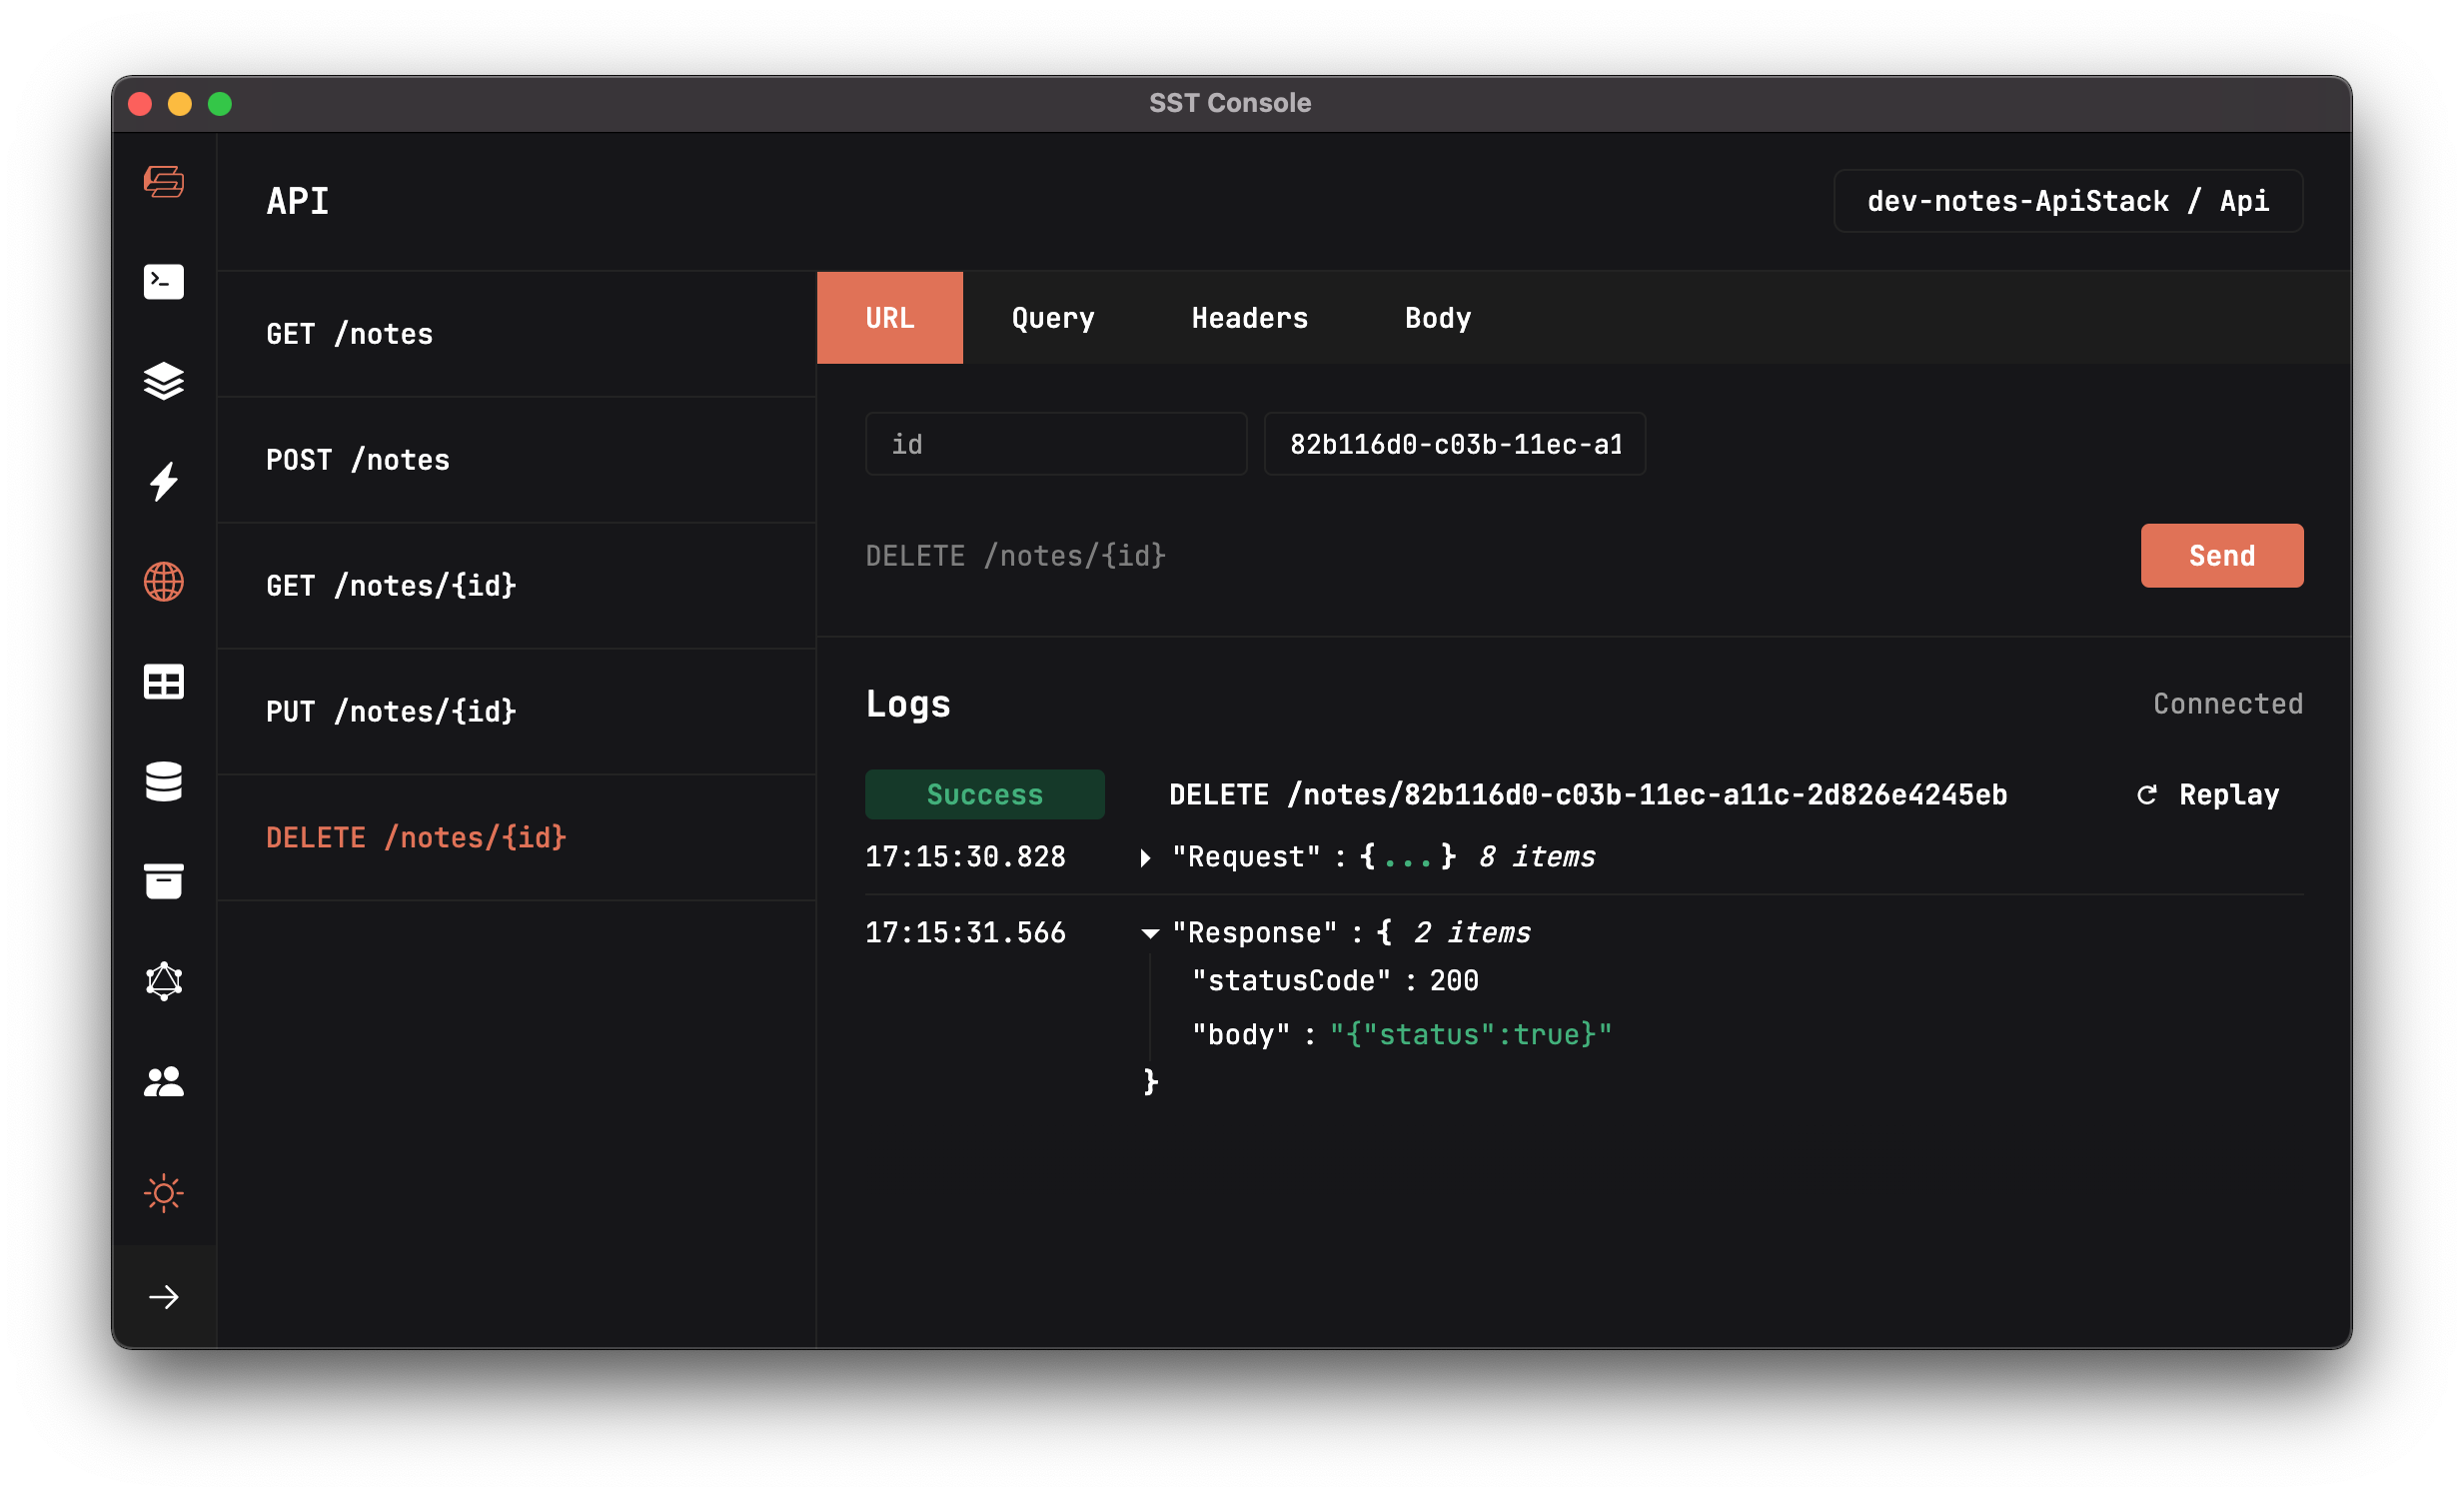
In the API tab of the SST Console, select the DELETE /notes/{id} API.
 Set the
 noteId as the id and click Send.
You should see the note being deleted in the response.

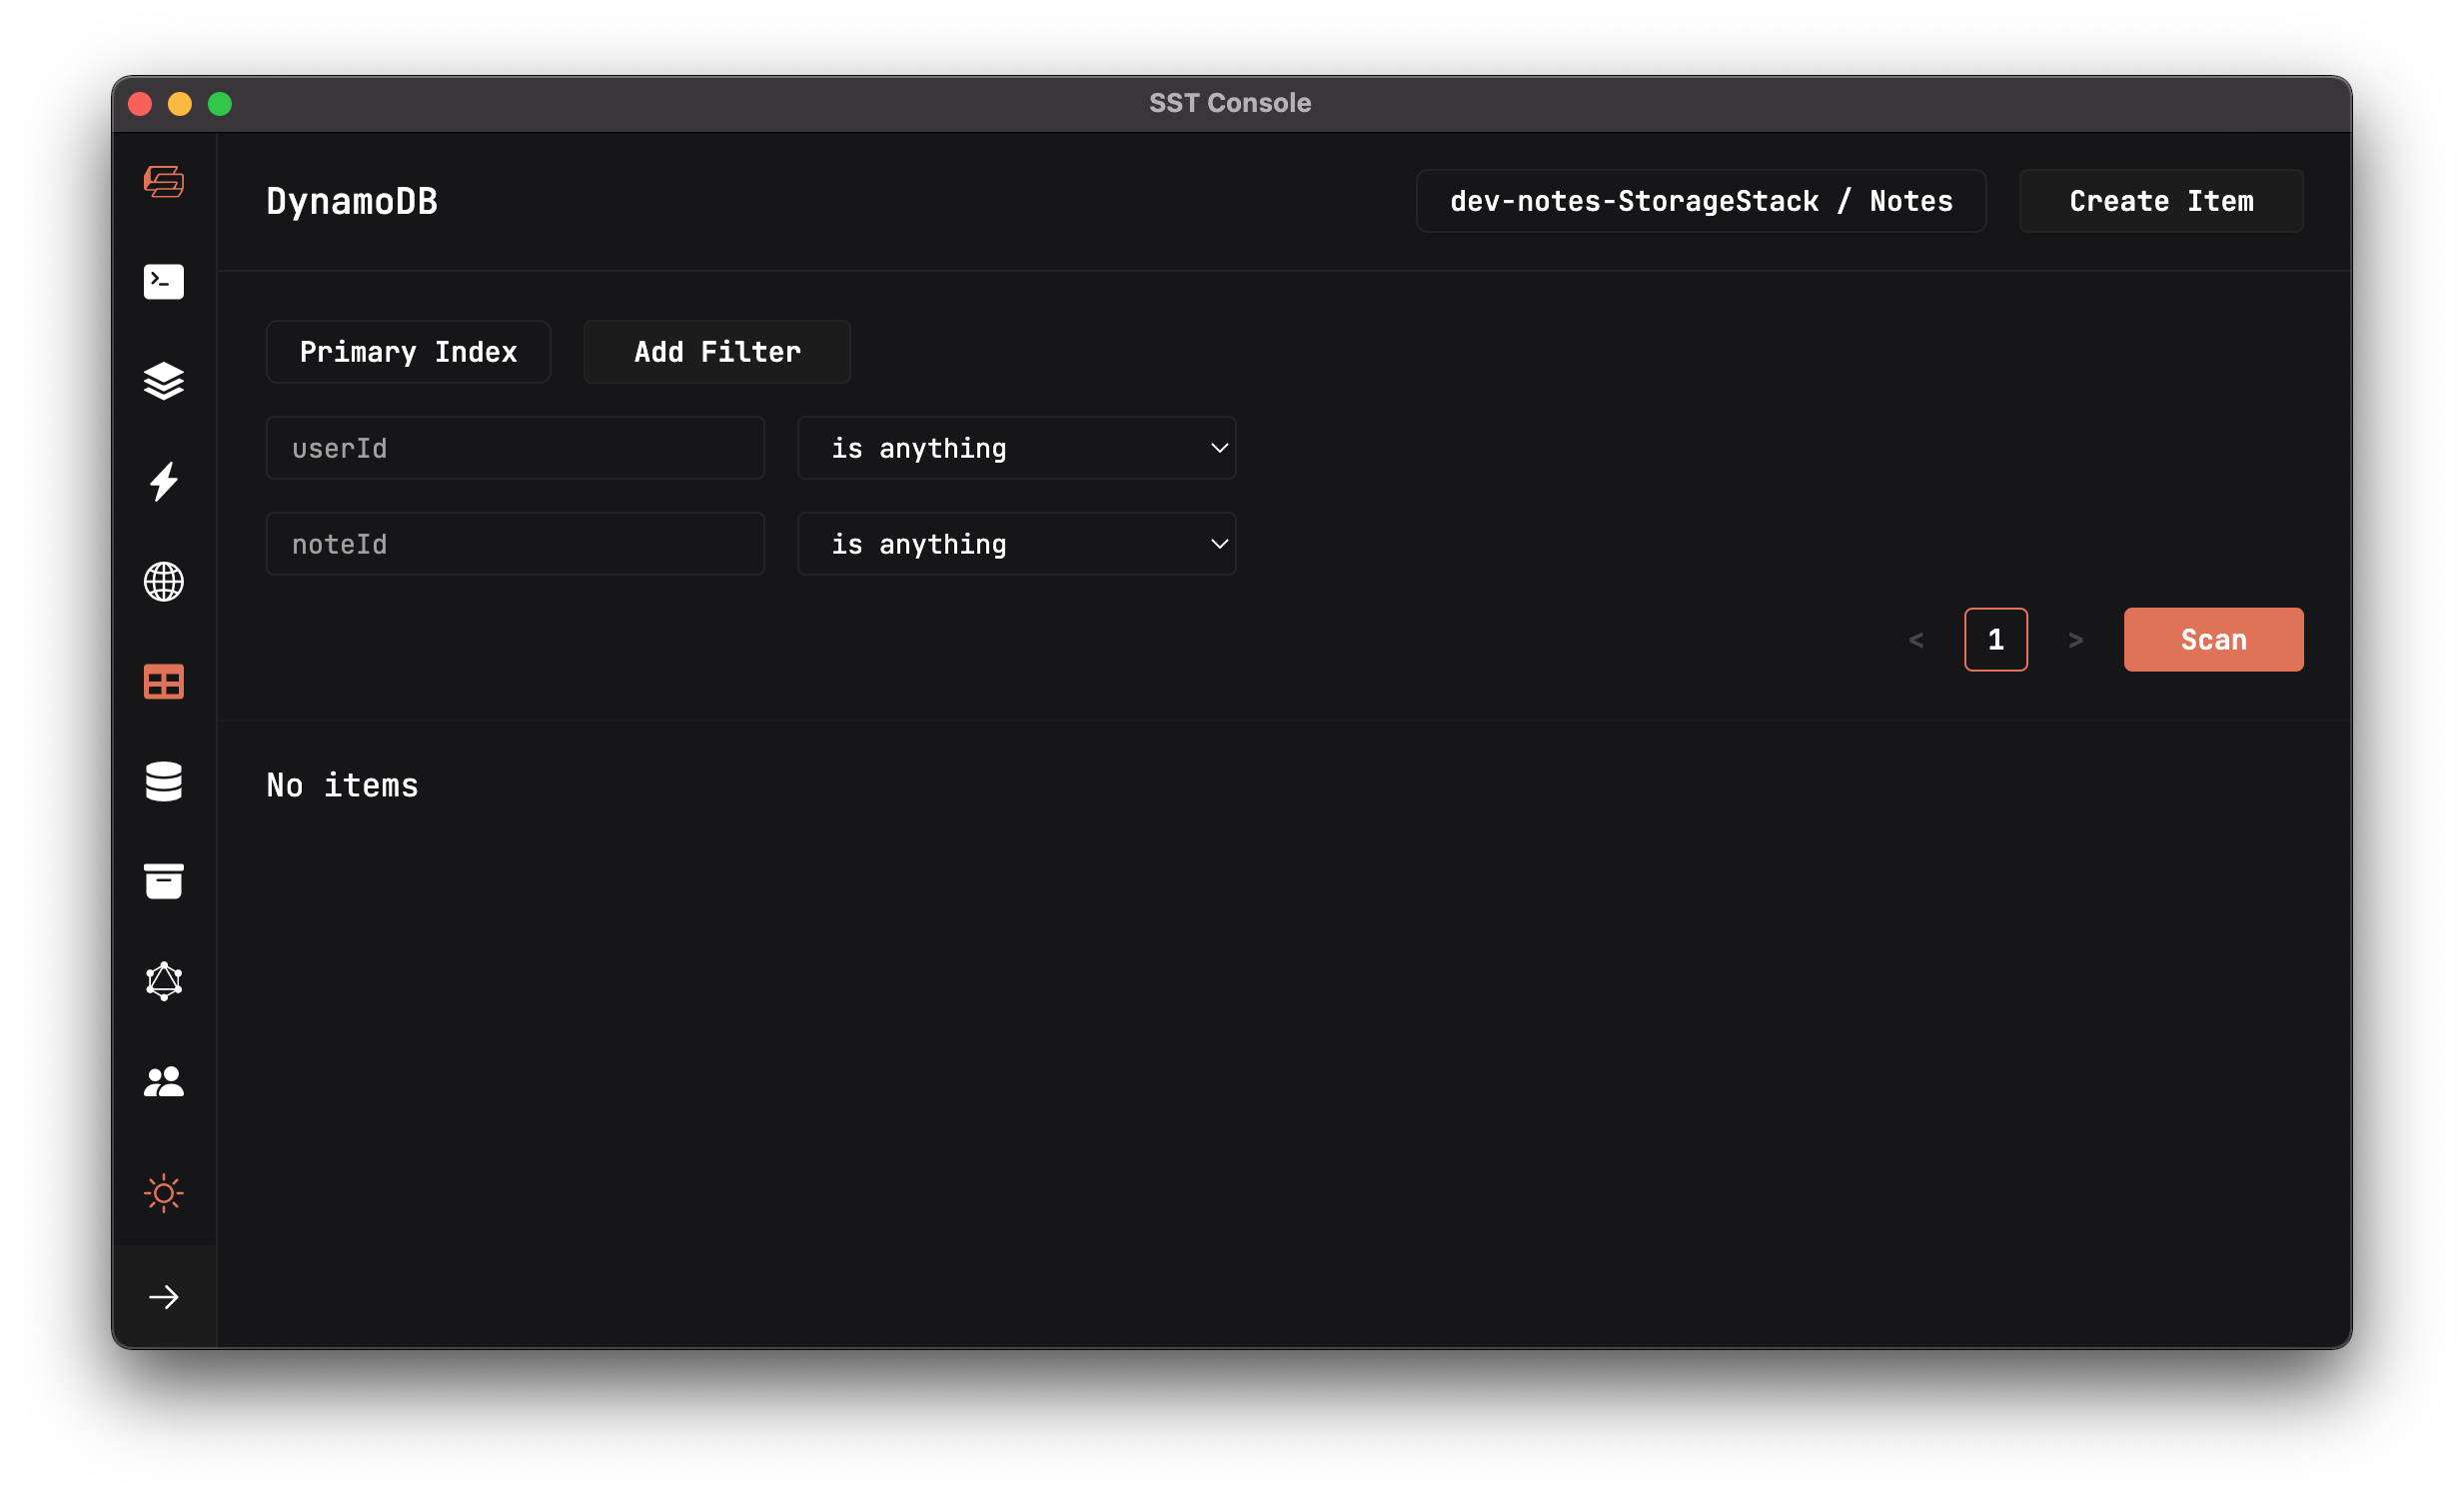
And the note should be removed from the DynamoDB Table as well.

Commit the Changes
 Let’s commit and push our changes to GitHub.
$ git add .
$ git commit -m "Adding the API"
$ git push
So our API is publicly available, this means that anybody can access it and create notes. And it’s always connecting to the 123 user id. Let’s fix these next by handling users and authentication.
For help and discussion
Comments on this chapter

