How to automatically resize images with serverless
In this example we will look at how to automatically resize images that are uploaded to your S3 bucket using SST. We’ll be using the Sharp package as a Lambda Layer.
We’ll be using SST’s Live Lambda Development. It allows you to make changes and test locally without having to redeploy.
Here is a video of it in action.
Requirements
- Node.js 16 or later
- We’ll be using TypeScript
- An AWS account with the AWS CLI configured locally
Create an SST app
 Let’s start by creating an SST app.
$ npx create-sst@latest --template=base/example bucket-image-resize
$ cd bucket-image-resize
$ npm install
By default, our app will be deployed to the us-east-1 AWS region. This can be changed in the sst.config.ts in your project root.
import { SSTConfig } from "sst";

export default {
  config(_input) {
    return {
      name: "bucket-image-resize",
      region: "us-east-1",
    };
  },
} satisfies SSTConfig;
Project layout
An SST app is made up of two parts.
-
stacks/— App InfrastructureThe code that describes the infrastructure of your serverless app is placed in the
stacks/directory of your project. SST uses AWS CDK, to create the infrastructure. -
packages/functions/— App CodeThe code that’s run when your API is invoked is placed in the
packages/functions/directory of your project.
Creating the bucket
Let’s start by creating a bucket.
 Replace the
 stacks/ExampleStack.ts with the following.
import { Bucket, StackContext } from "sst/constructs";
import * as lambda from "aws-cdk-lib/aws-lambda";

export function ExampleStack({ stack }: StackContext) {
  // Create a new bucket
  const bucket = new Bucket(stack, "Bucket", {
    notifications: {
      resize: {
        function: {
          handler: "packages/functions/src/resize.main",
          nodejs: {
            esbuild: {
              external: ["sharp"],
            },
          },
          layers: [
            new lambda.LayerVersion(stack, "SharpLayer", {
              code: lambda.Code.fromAsset("layers/sharp"),
            }),
          ],
        },
        events: ["object_created"],
      },
    },
  });

  // Allow the notification functions to access the bucket
  bucket.attachPermissions([bucket]);

  // Show the endpoint in the output
  stack.addOutputs({
    BucketName: bucket.bucketName,
  });
}
This creates a S3 bucket using the Bucket construct.
We are subscribing to the OBJECT_CREATED notification with a Function. The image resizing library that we are using, Sharp, needs to be compiled specifically for the target runtime. So we are going to use a Lambda Layer to upload it. Locally, the sharp package is not compatible with how our functions are bundled. So we are marking it in the external.
Finally, we are allowing our functions to access the bucket by calling attachPermissions. We are also outputting the name of the bucket that we are creating.
Using Sharp as a Layer
Next let’s set up Sharp as a Layer.
 First create a new directory in your project root.
$ mkdir -p layers/sharp
Then head over to this repo and download the latest sharp-lambda-layer.zip from the releases — https://github.com/Umkus/lambda-layer-sharp/releases
Unzip that into the layers/sharp directory that we just created. Make sure that the path looks something like layers/sharp/nodejs/node_modules.
Adding function code
Now in our function, we’ll be handling resizing an image once it’s uploaded.
 Add a new file at
 packages/functions/src/resize.ts with the following.
import AWS from "aws-sdk";
import sharp from "sharp";
import stream from "stream";
import { S3Handler } from "aws-lambda";

const width = 400;
const prefix = `${width}w`;

const S3 = new AWS.S3();

// Read stream for downloading from S3
function readStreamFromS3({ Bucket, Key }) {
  return S3.getObject({ Bucket, Key }).createReadStream();
}

// Write stream for uploading to S3
function writeStreamToS3({ Bucket, Key }) {
  const pass = new stream.PassThrough();

  return {
    writeStream: pass,
    upload: S3.upload({
      Key,
      Bucket,
      Body: pass,
    }).promise(),
  };
}

// Sharp resize stream
function streamToSharp(width) {
  return sharp().resize(width);
}

export const main: S3Handler = async (event) => {
  const s3Record = event.Records[0].s3;

  // Grab the filename and bucket name
  const Key = s3Record.object.key;
  const Bucket = s3Record.bucket.name;

  // Check if the file has already been resized
  if (Key.startsWith(prefix)) {
    return;
  }

  // Create the new filename with the dimensions
  const newKey = `${prefix}-${Key}`;

  // Stream to read the file from the bucket
  const readStream = readStreamFromS3({ Key, Bucket });
  // Stream to resize the image
  const resizeStream = streamToSharp(width);
  // Stream to upload to the bucket
  const { writeStream, upload } = writeStreamToS3({
    Bucket,
    Key: newKey,
  });

  // Trigger the streams
  readStream.pipe(resizeStream).pipe(writeStream);

  // Wait for the file to upload
  await upload;
};
We are doing a few things here. Let’s go over them in detail.
- In the
mainfunction, we start by grabbing theKeyor filename of the file that’s been uploaded. We also get theBucketor name of the bucket that it was uploaded to. - Check if the file has already been resized, by looking at the filename and if it starts with the dimensions. If it has, then we quit the function.
- Generate the new filename with the dimensions.
- Create a stream to read the file from S3, another to resize the image, and finally upload it back to S3. We use streams because really large files might hit the limit for what can be downloaded on to the Lambda function.
- Finally, we start the streams and wait for the upload to complete.
Now let’s install the npm packages we are using here.
 Run this command in the
 packages/functions/ folder.
$ npm install sharp aws-sdk
Starting your dev environment
 SST features a Live Lambda Development environment that allows you to work on your serverless apps live.
$ npm run dev
The first time you run this command it’ll take a couple of minutes to deploy your app and a debug stack to power the Live Lambda Development environment.
===============
 Deploying app
===============

Preparing your SST app
Transpiling source
Linting source
Deploying stacks
dev-bucket-image-resize-ExampleStack: deploying...

 ✅  dev-bucket-image-resize-ExampleStack


Stack dev-bucket-image-resize-ExampleStack
  Status: deployed
  Outputs:
    BucketName: dev-bucket-image-resize-ExampleStack-bucketd7feb781-k3myfpcm6qp1
Uploading files
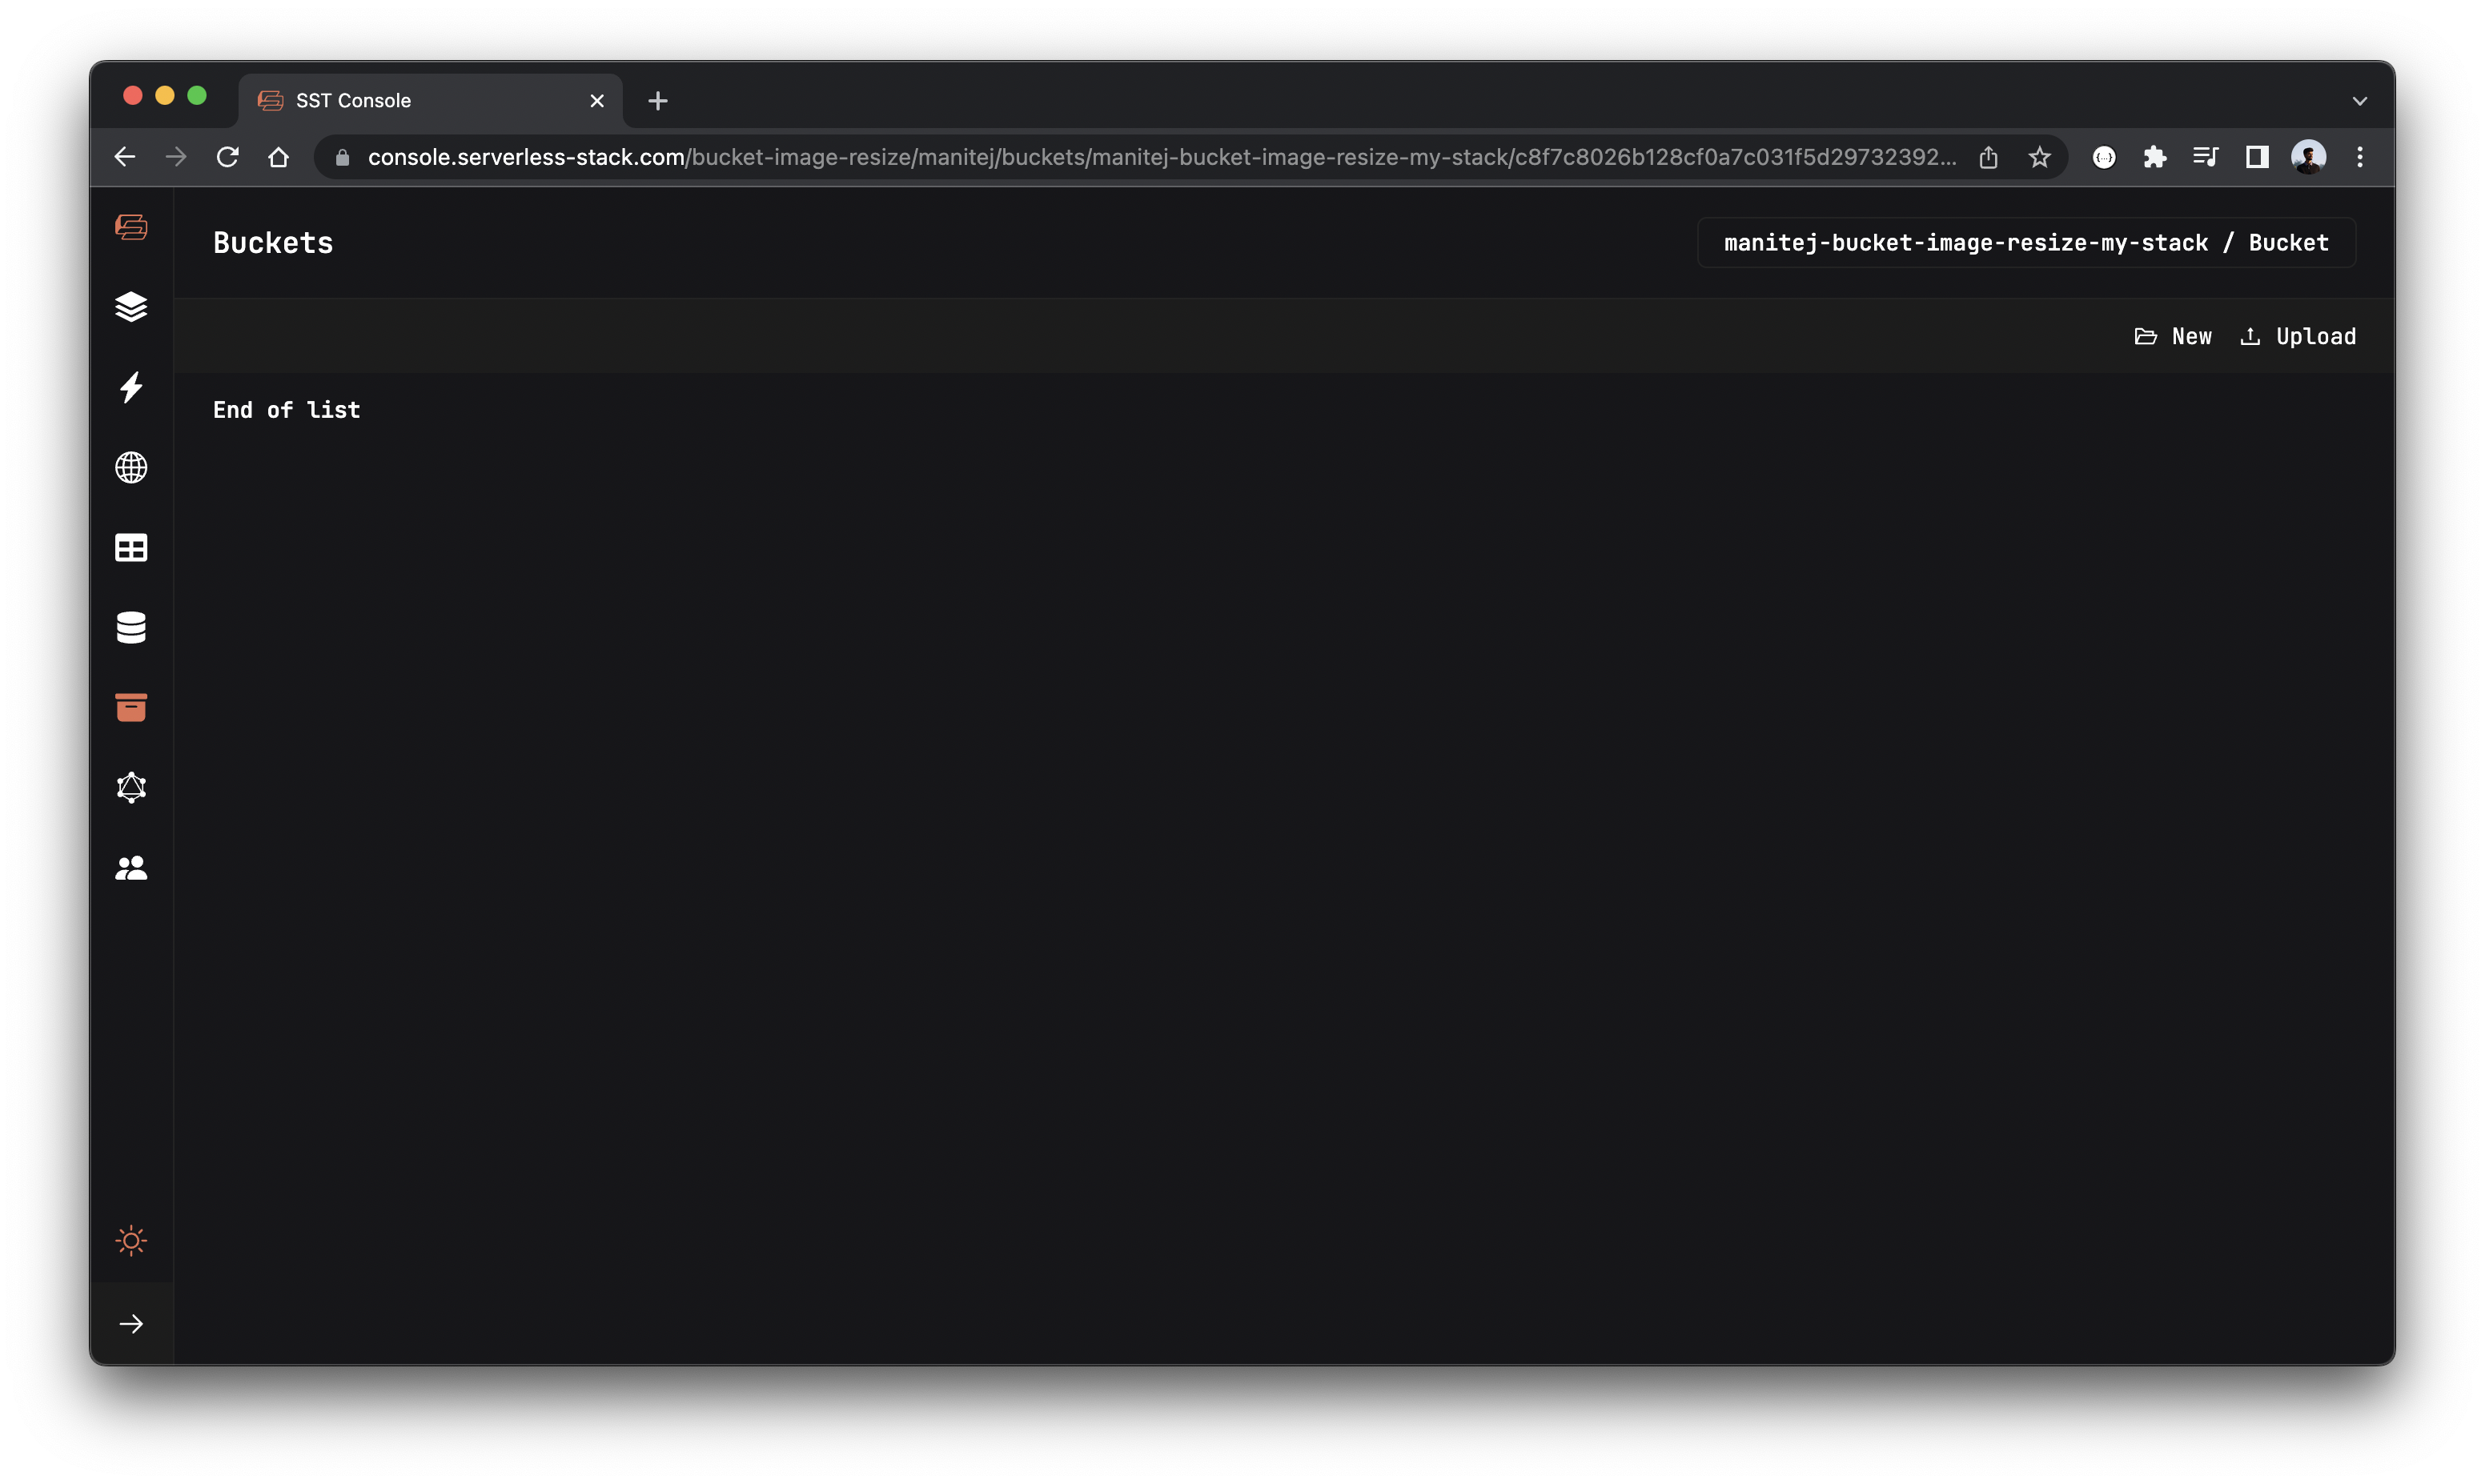
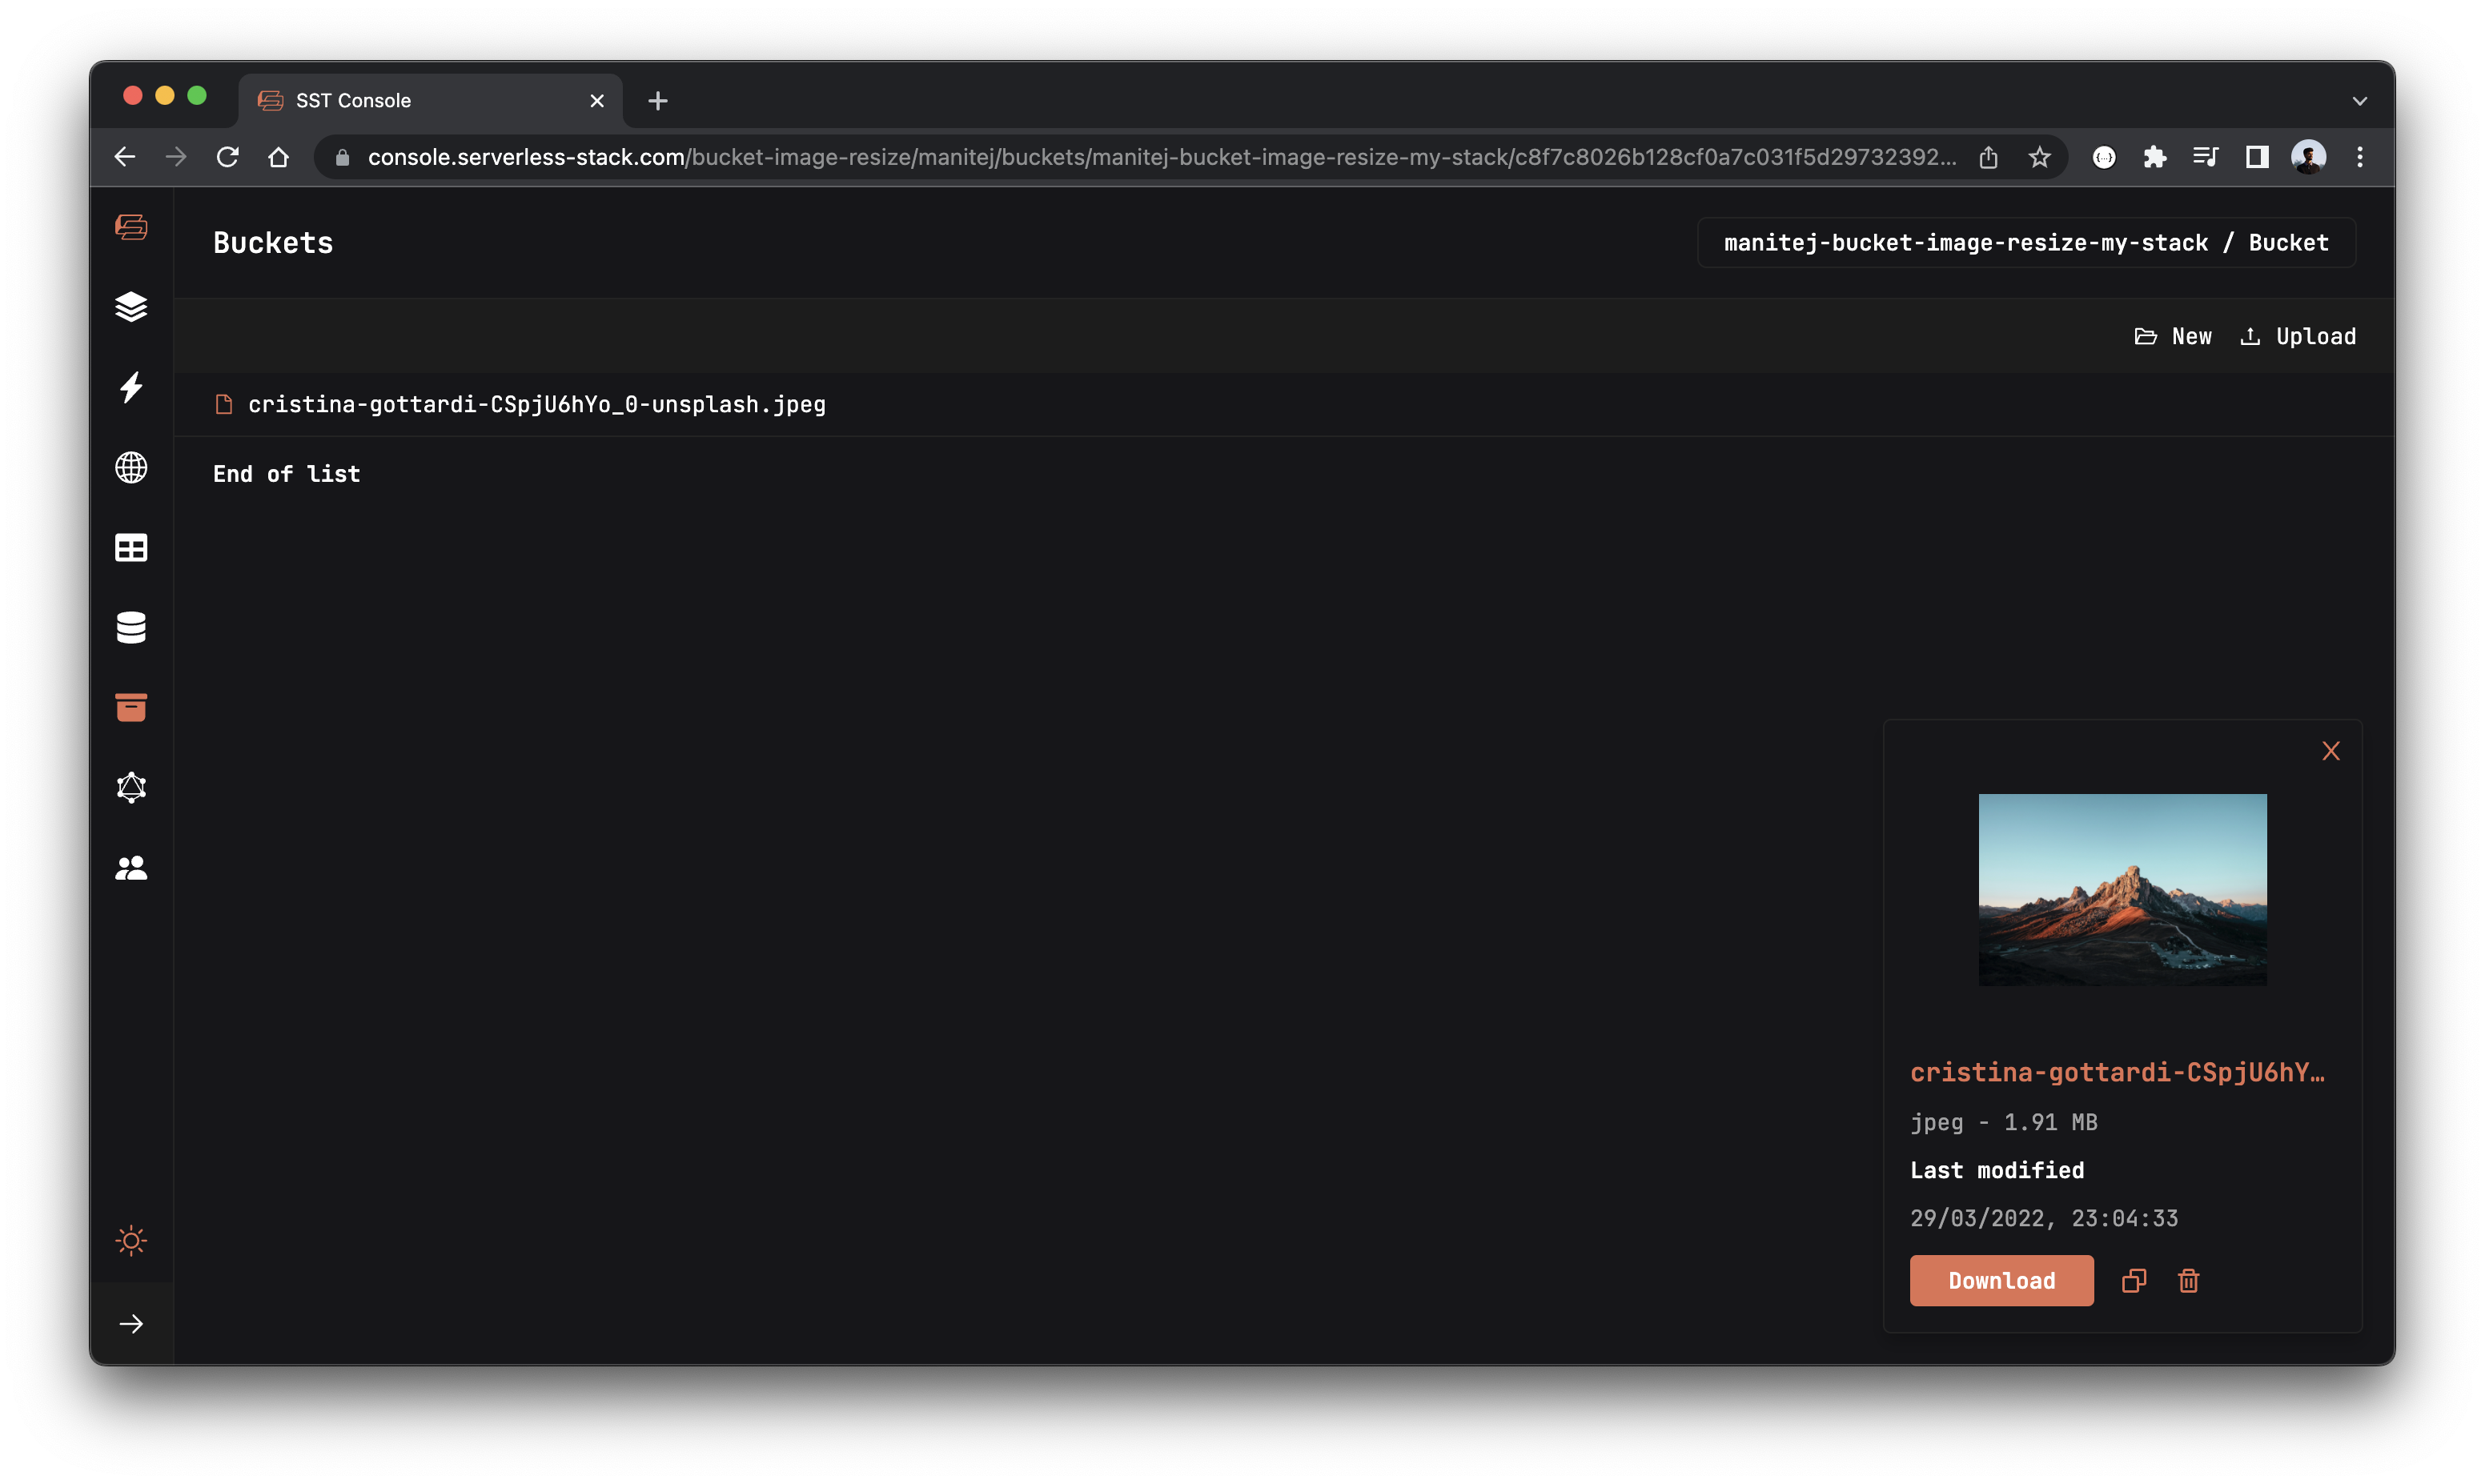
Now head over to the Buckets tab in SST Console. The SST Console is a web based dashboard to manage your SST apps. Learn more about it in our docs.
Note, The Buckets explorer allows you to manage the S3 Buckets created with the Bucket constructs in your app. It allows you upload, delete, and download files. You can also create and delete folders.

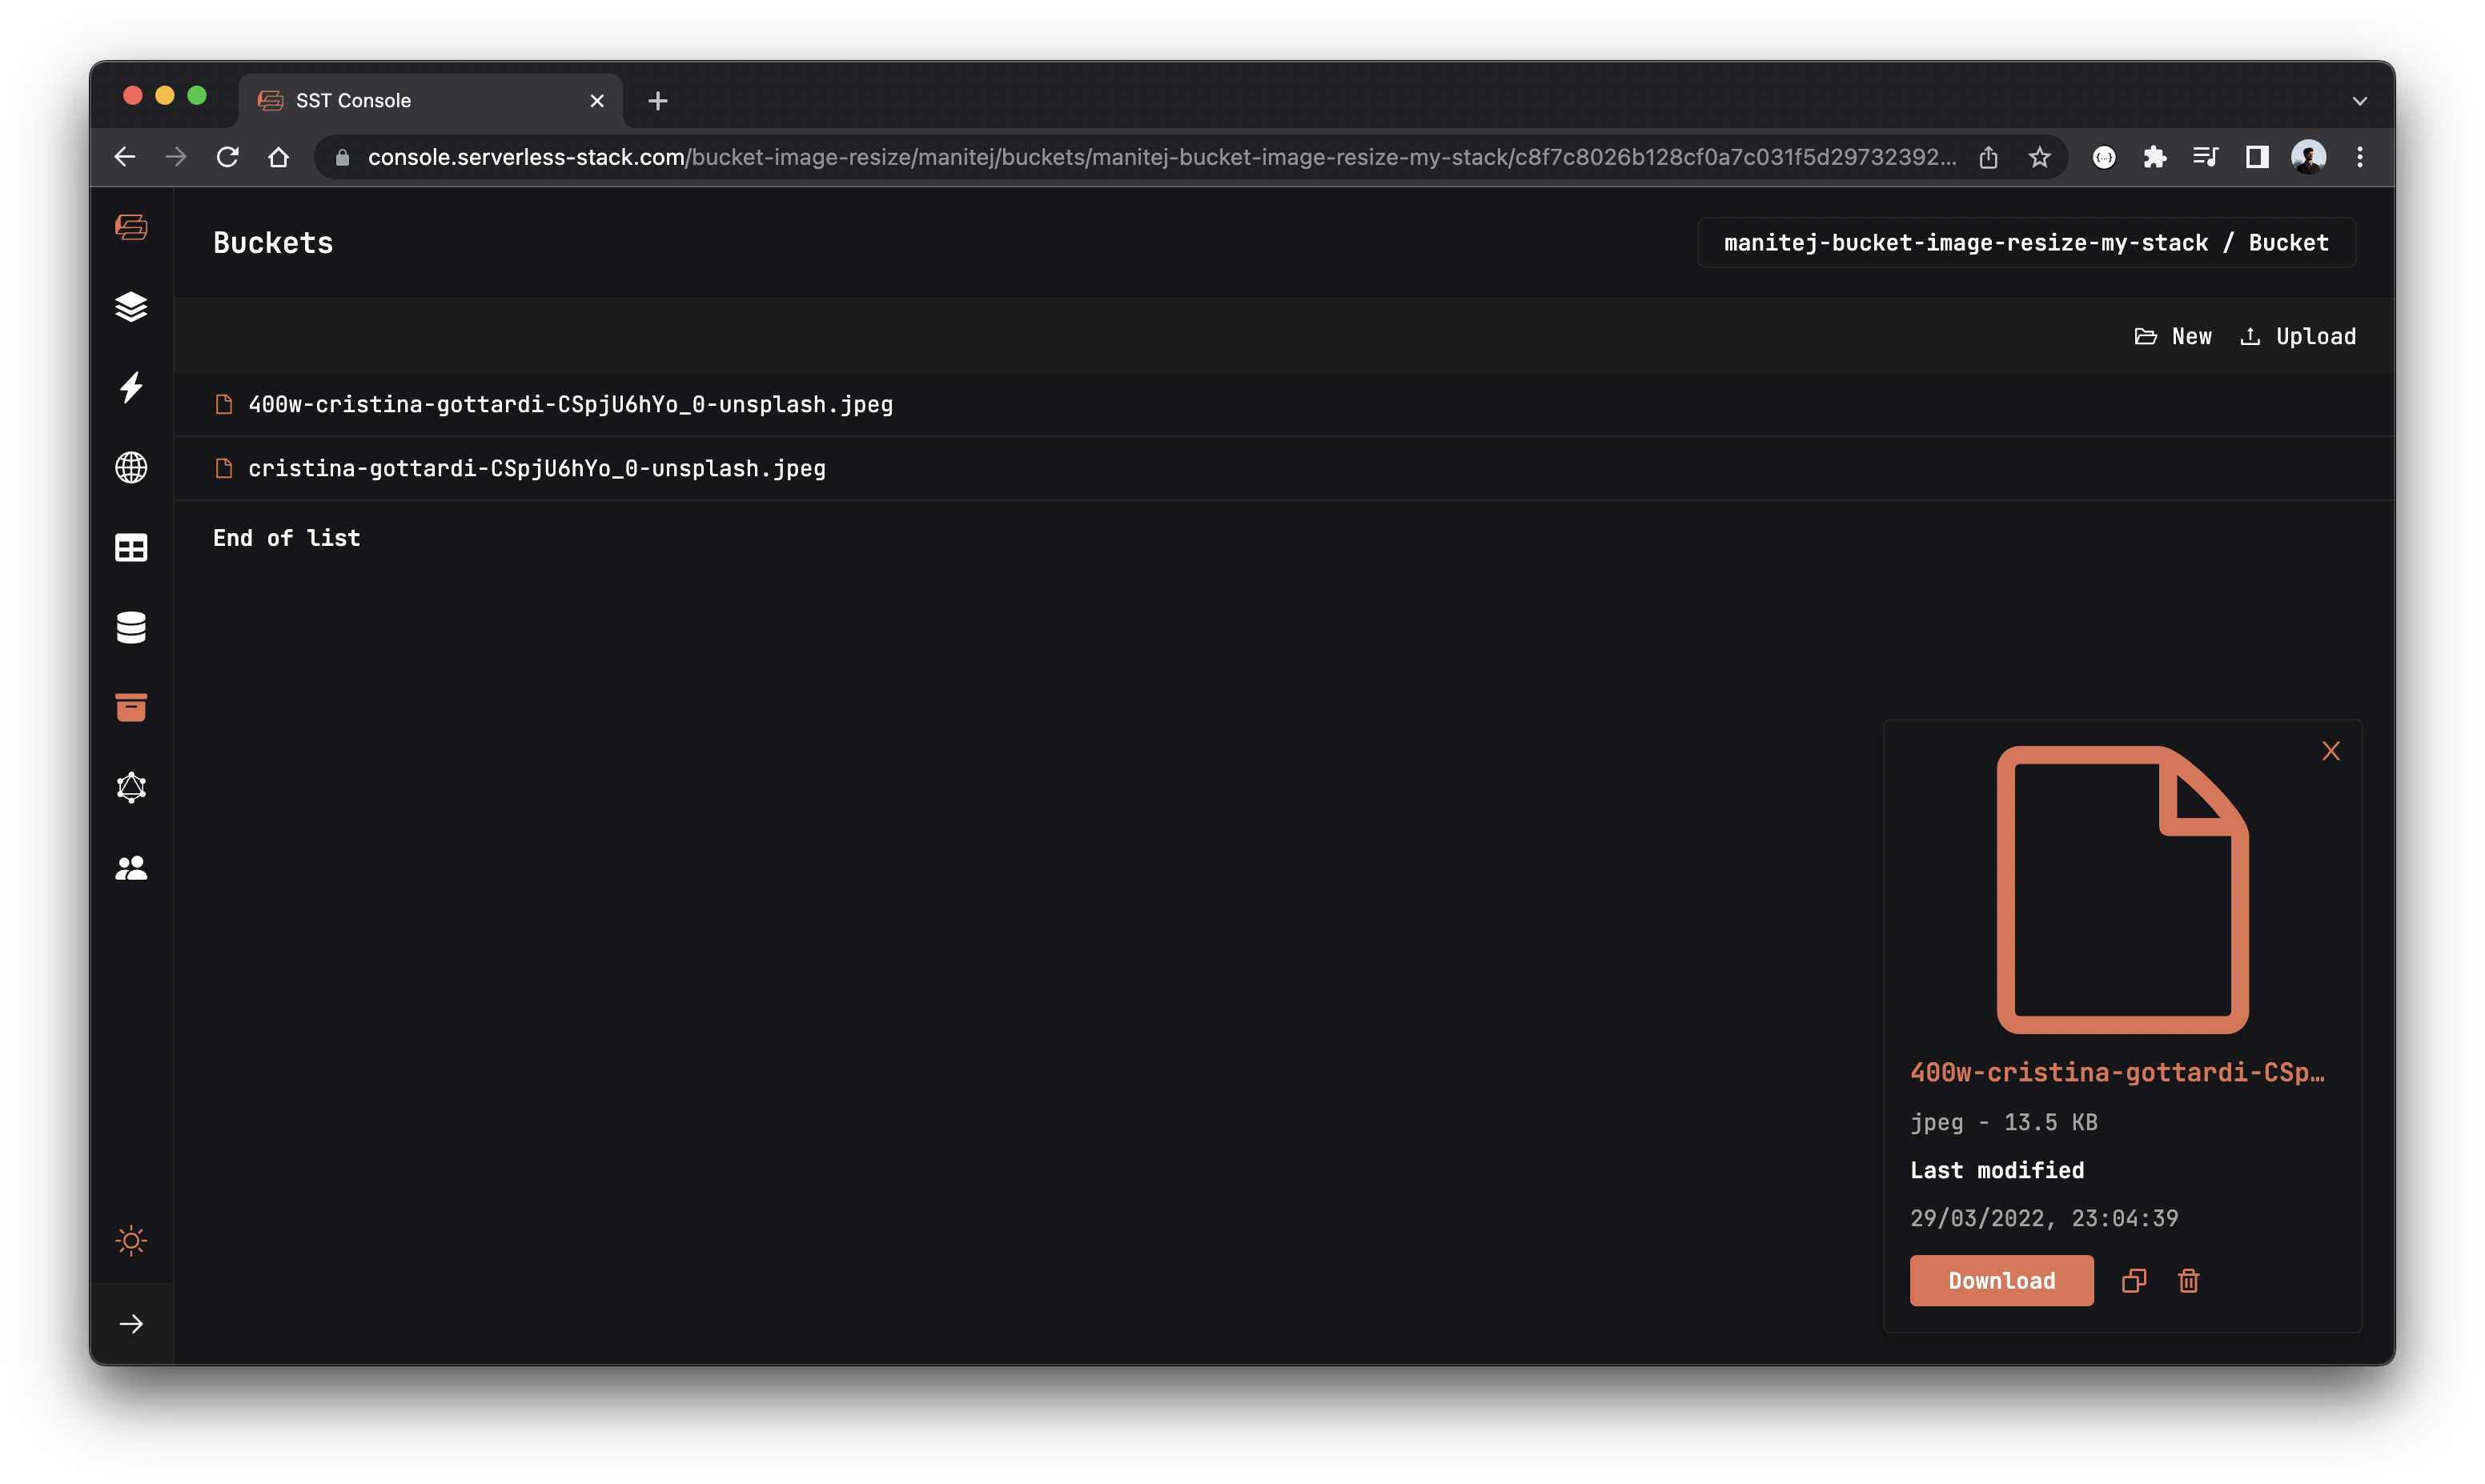
Here you can click Upload and select an image to upload it. After uploading you’ll notice the resized image shows up.

Now refresh your console to see the resized image.

Making changes
Let’s try making a quick change.
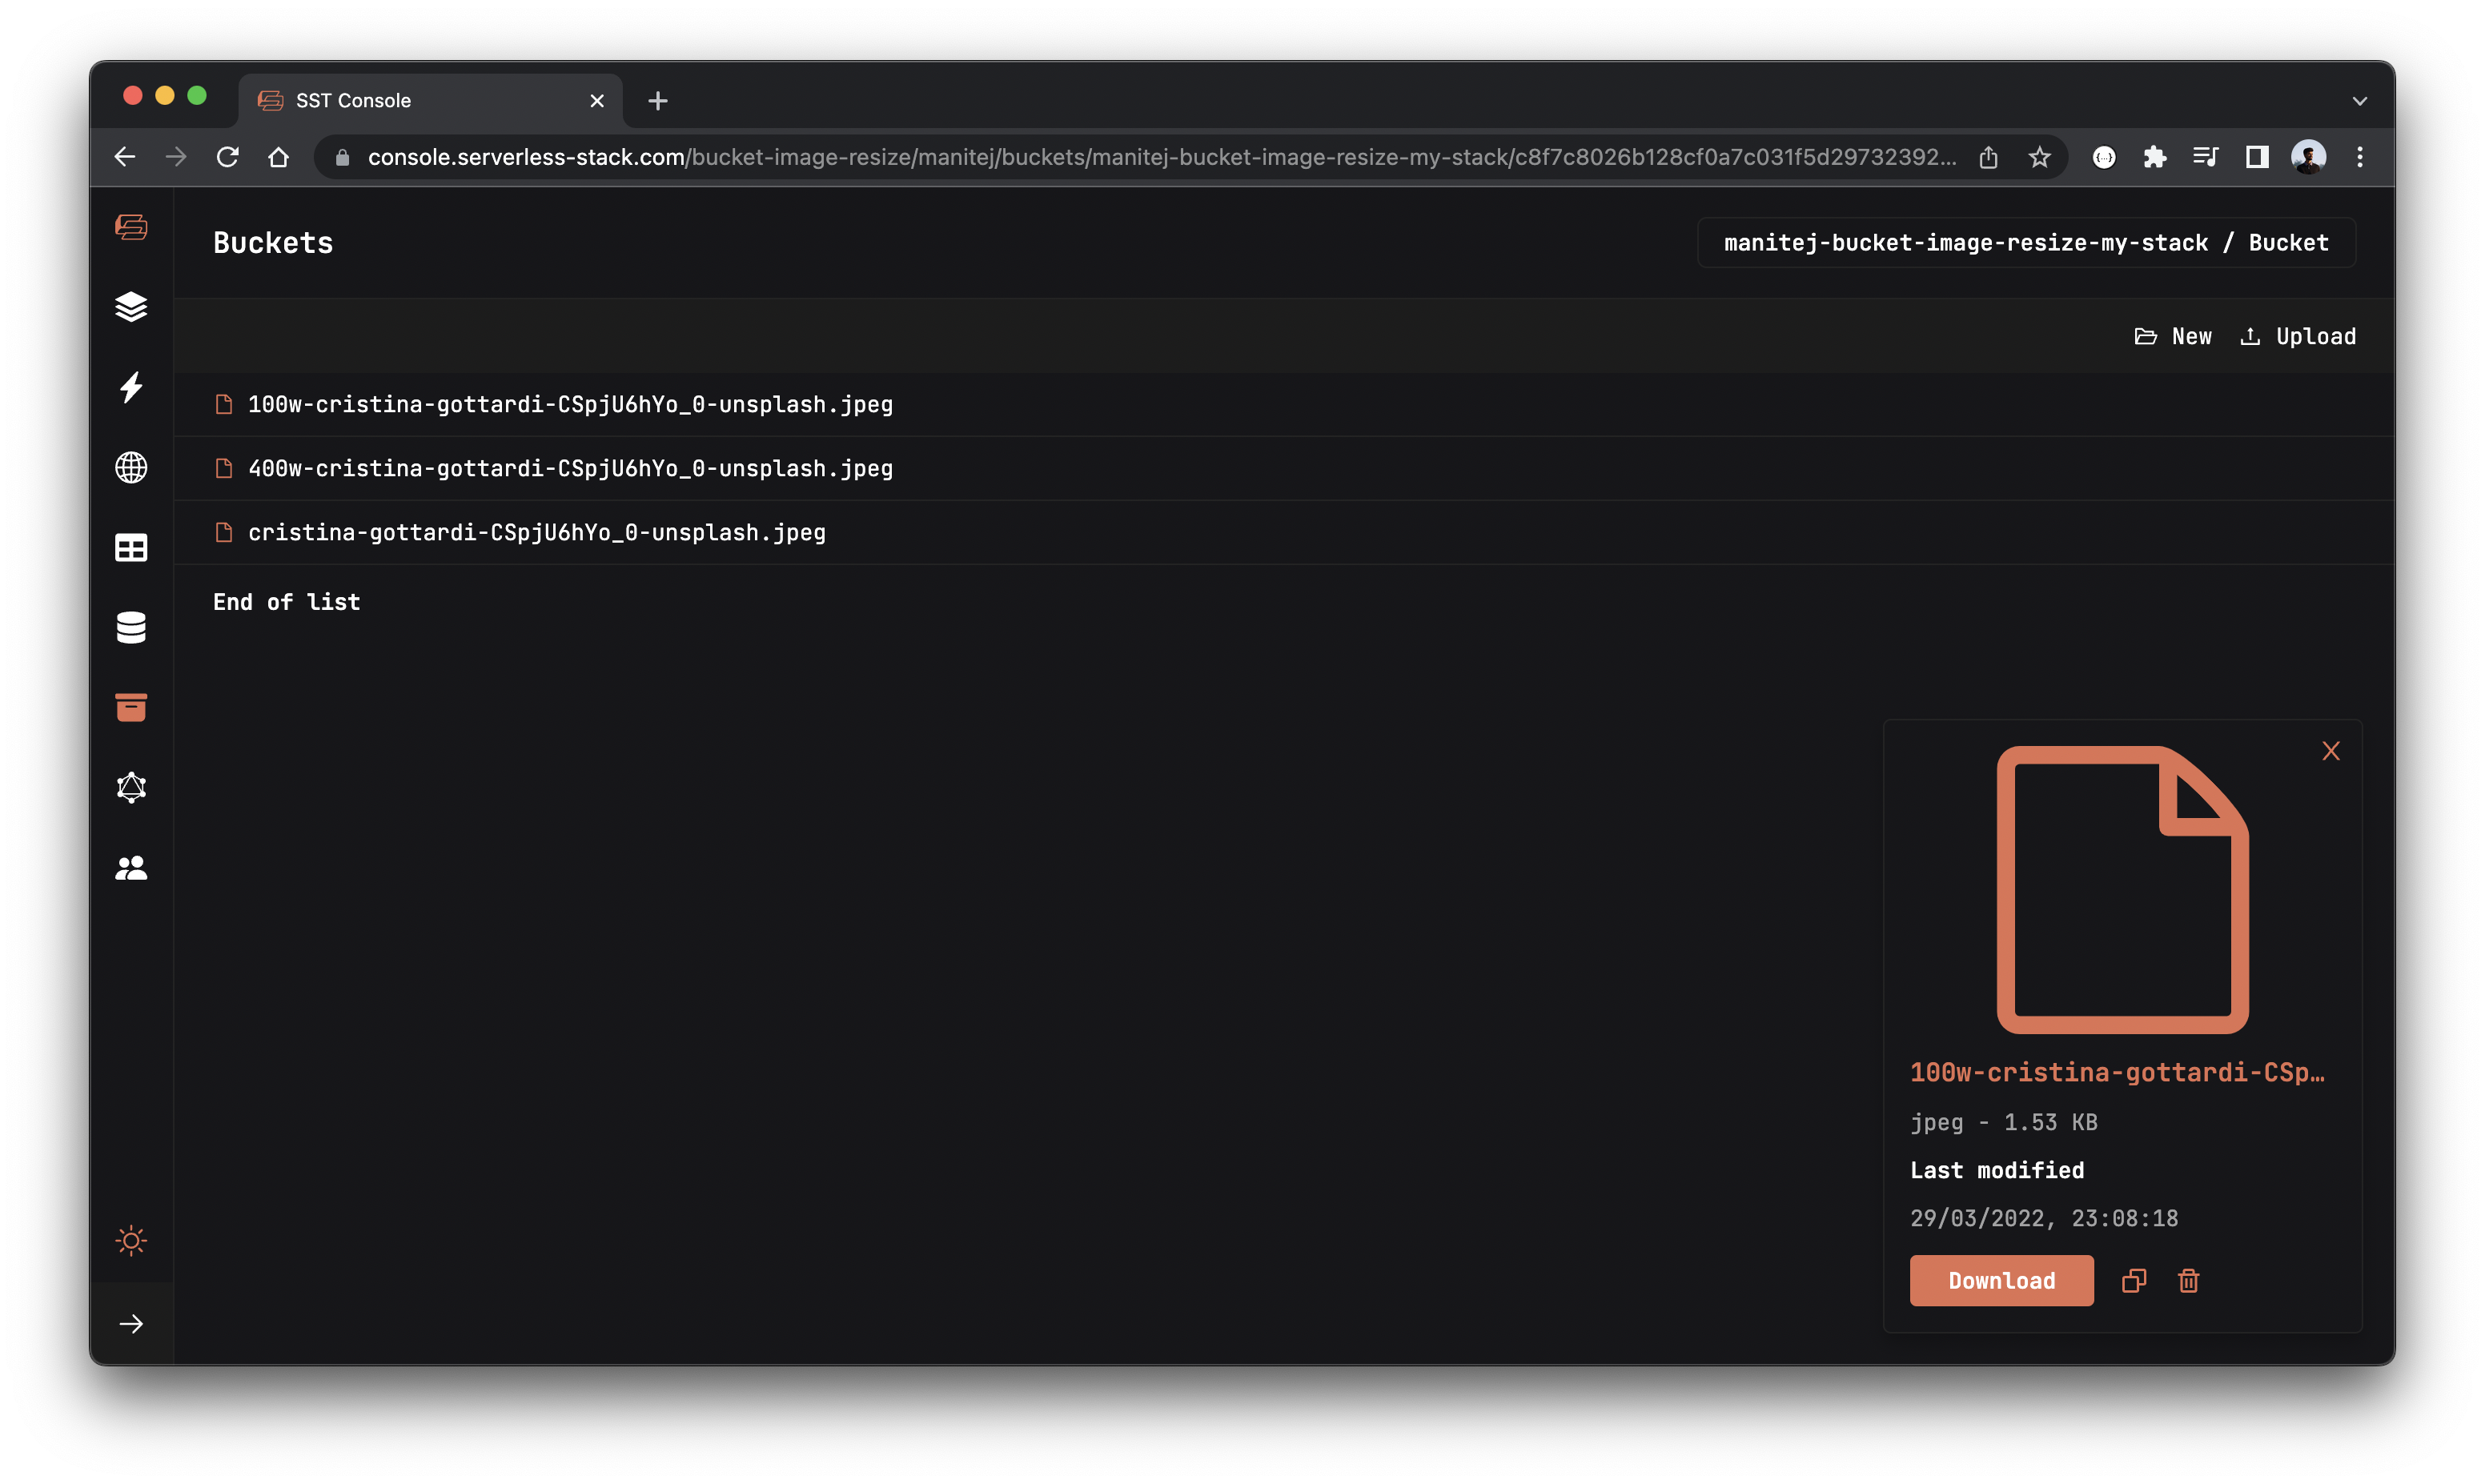
 Change the
 width in your packages/functions/src/resize.ts.
const width = 100;
Now if you go back to SST console and upload that same image again, you should see the new resized image show up in your Buckets explorer.

Deploying to prod
 To wrap things up we’ll deploy our app to prod.
$ npx sst deploy --stage prod
This allows us to separate our environments, so when we are working in dev, it doesn’t break the API for our users.
Cleaning up
Finally, you can remove the resources created in this example using the following commands.
$ npx sst remove
$ npx sst remove --stage prod
Note that, by default resources like the S3 bucket are not removed automatically. To do so, you’ll need to explicitly set it.
import * as cdk from "aws-cdk-lib";

const bucket = new Bucket(stack, "Bucket", {
  cdk: {
    bucket: {
      autoDeleteObjects: true,
      removalPolicy: cdk.RemovalPolicy.DESTROY,
    },
  },
  ...
}
Conclusion
And that’s it! We’ve got a completely serverless image resizer that automatically resizes any images uploaded to our S3 bucket. And we can test our changes locally before deploying to AWS! Check out the repo below for the code we used in this example. And leave a comment if you have any questions!
Example repo for reference
github.com/serverless-stack/sst/tree/master/examples/bucket-image-resizeFor help and discussion
Comments on this exampleMore Examples
APIs
-
REST API
Building a simple REST API.
-
WebSocket API
Building a simple WebSocket API.
-
Go REST API
Building a REST API with Golang.
-
Custom Domains
Using a custom domain in an API.
Web Apps
-
React.js
Full-stack React app with a serverless API.
-
Next.js
Full-stack Next.js app with DynamoDB.
-
Vue.js
Full-stack Vue.js app with a serverless API.
-
Svelte
Full-stack Svelte app with a serverless API.
-
Gatsby
Full-stack Gatsby app with a serverless API.
-
Angular
Full-stack Angular app with a serverless API.
Mobile Apps

GraphQL
Databases
-
DynamoDB
Using DynamoDB in a serverless API.
-
MongoDB Atlas
Using MongoDB Atlas in a serverless API.
-
PostgreSQL
Using PostgreSQL and Aurora in a serverless API.
-
CRUD DynamoDB
Building a CRUD API with DynamoDB.
-
PlanetScale
Using PlanetScale in a serverless API.
Authentication
Using SST Auth
-
Facebook Auth
Adding Facebook auth to a full-stack serverless app.
-
Google Auth
Adding Google auth to a full-stack serverless app.
Using Cognito Identity Pools
-
Cognito IAM
Authenticating with Cognito User Pool and Identity Pool.
-
Facebook Auth
Authenticating a serverless API with Facebook.
-
Twitter Auth
Authenticating a serverless API with Twitter.
-
Auth0 IAM
Authenticating a serverless API with Auth0.
Using Cognito User Pools
-
Cognito JWT
Adding JWT authentication with Cognito.
-
Auth0 JWT
Adding JWT authentication with Auth0.
-
Google Auth
Authenticating a full-stack serverless app with Google.
-
GitHub Auth
Authenticating a full-stack serverless app with GitHub.
-
Facebook Auth
Authenticating a full-stack serverless app with Facebook.
Async Tasks
-
Cron
A simple serverless Cron job.
-
Queues
A simple queue system with SQS.
-
Pub/Sub
A simple pub/sub system with SNS.
-
Kinesis data streams
A simple Kinesis Data Stream system.
-
EventBus
A simple EventBridge system with EventBus.
Editors
-
Debug With VS Code
Using VS Code to debug serverless apps.
-
Debug With WebStorm
Using WebStorm to debug serverless apps.
-
Debug With IntelliJ
Using IntelliJ IDEA to debug serverless apps.
Monitoring
Miscellaneous
-
Lambda Layers
Using the chrome-aws-lambda layer to take screenshots.
-
Middy Validator
Use Middy to validate API request and responses.


